Although I am all for the “Don’t fix it, if it’s not broken” mantra, I upgraded my Ender 5 plus even though it was in a working state. I had a couple of updates planned:
- Replace lead nut screw
- Replace bed leveling springs
- Replace the mainboard with a 32-bit mainboard
The third being the biggest and most important one. The first and second I decided to do, because I had the printer in maintenance anyway, and had to do a full calibration anyway.
I wanted to replace the mainboard, so I can setup OctoPrint again. The 8-bit board the Ender 5 plus ships with, immediately replaced with its silent version, has to little memory to handle the stream coming from octoprint as discovered by Kersey Fabrications. Also, I believe having a 32-bits mainboard with more memory will result in a more consistent and perhaps even faster prints.
I will put it some links to shops where I got parts from, these no affiliate links and I make no money off it.
Replace lead nut screw
Let me be honest here, I did not consider this one to be important, but I took note again from Kersey Fabrications. He has done a lot of research on this machine and most if not all updating ideas started from watching one of his videos. At the start of 2020 he released a video called “Ender 5 Plus Upgrades: Top Five Mods!”
With replacing the lead nut screw, I am now done with 4/5 mods. You can find his excellent explanation on the lead nut screws deeplinked here, but do check the other mods as well while you’re there.
Now all that’s left from that list is the parts cooling, I’m still contemplating if and how I will do that piece. The problem is that the cool air is only blown onto the print from one side and that might warp some prints. Although I see the issue sometimes, I feel it’s a fair amount of work at the time to fix it.
- Upgrade status: Done
- Upgrade result: no more squeak on the Z-rods
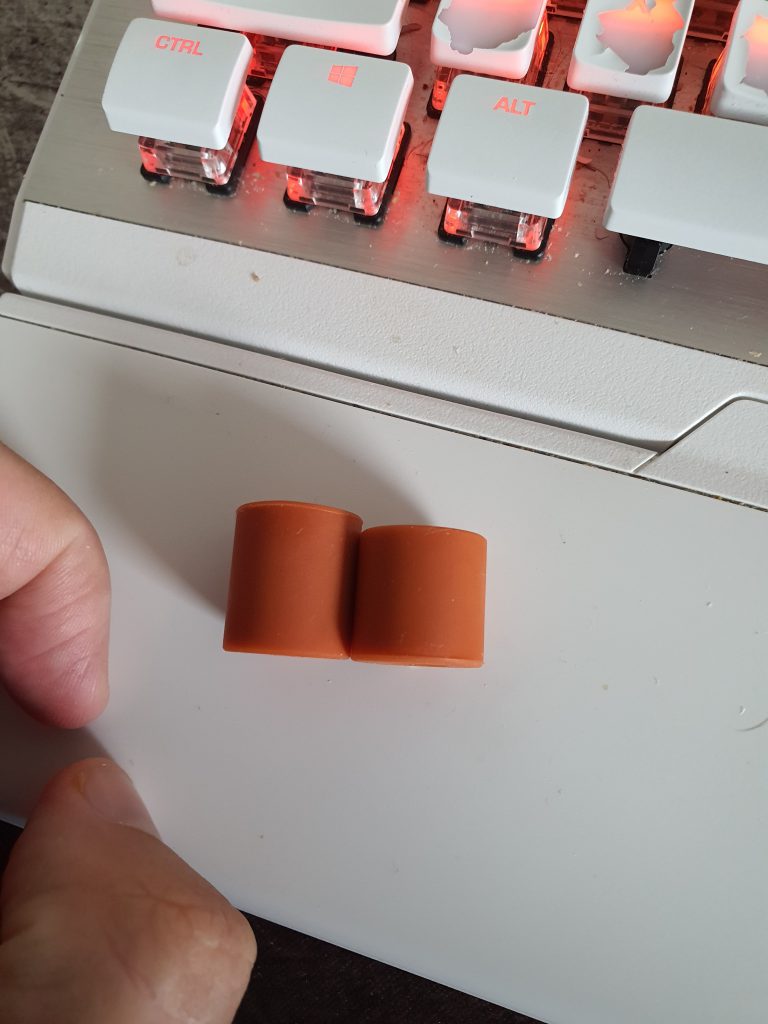
Replace Bed Leveling Springs
I saw this upgrade on several facebook groups and reddit. The basic idea behind this upgrade is to replace the original sprints with heatbed spacers made out of a sillicone material.
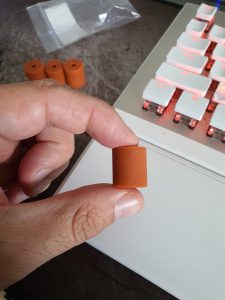
It should maintain it’s bed level setup longer then the springs that may deform a lot faster. While this is not something I have to do regularly with the springs I wanted to take it along while I was having maintenance.
Unfortunately, I bought the wrong one. I got the one for the CR-10 and for that printer, one of the spacers need to be shorter.
So upon discovering my mistake I decided to not do this yet and wait with that upgrade for another time.
Updating the mainboard
Finally, I could start on the big one. You should know by now that my first go to was checking out Kersey Fabrications on his excellent research. He made a small playlist of comparison videos that you can find here. Long story short, his prefered bnoard was the SKR Mini E3 v2.0. That was because it was practically a drop in replacement, but with more options. I, however, wanted to be more future proof and decided to go for the Big Tree Tech SKR 2.0 with 4 TMC2208 stepper drivers. There is room for a fifth, but I have no reason to install it, so I didn’t. I have the ZoneStar Z9V5 pro if I want to do multi color, so there is no use for me to go multiple extruder on the Ender 5 Plus.
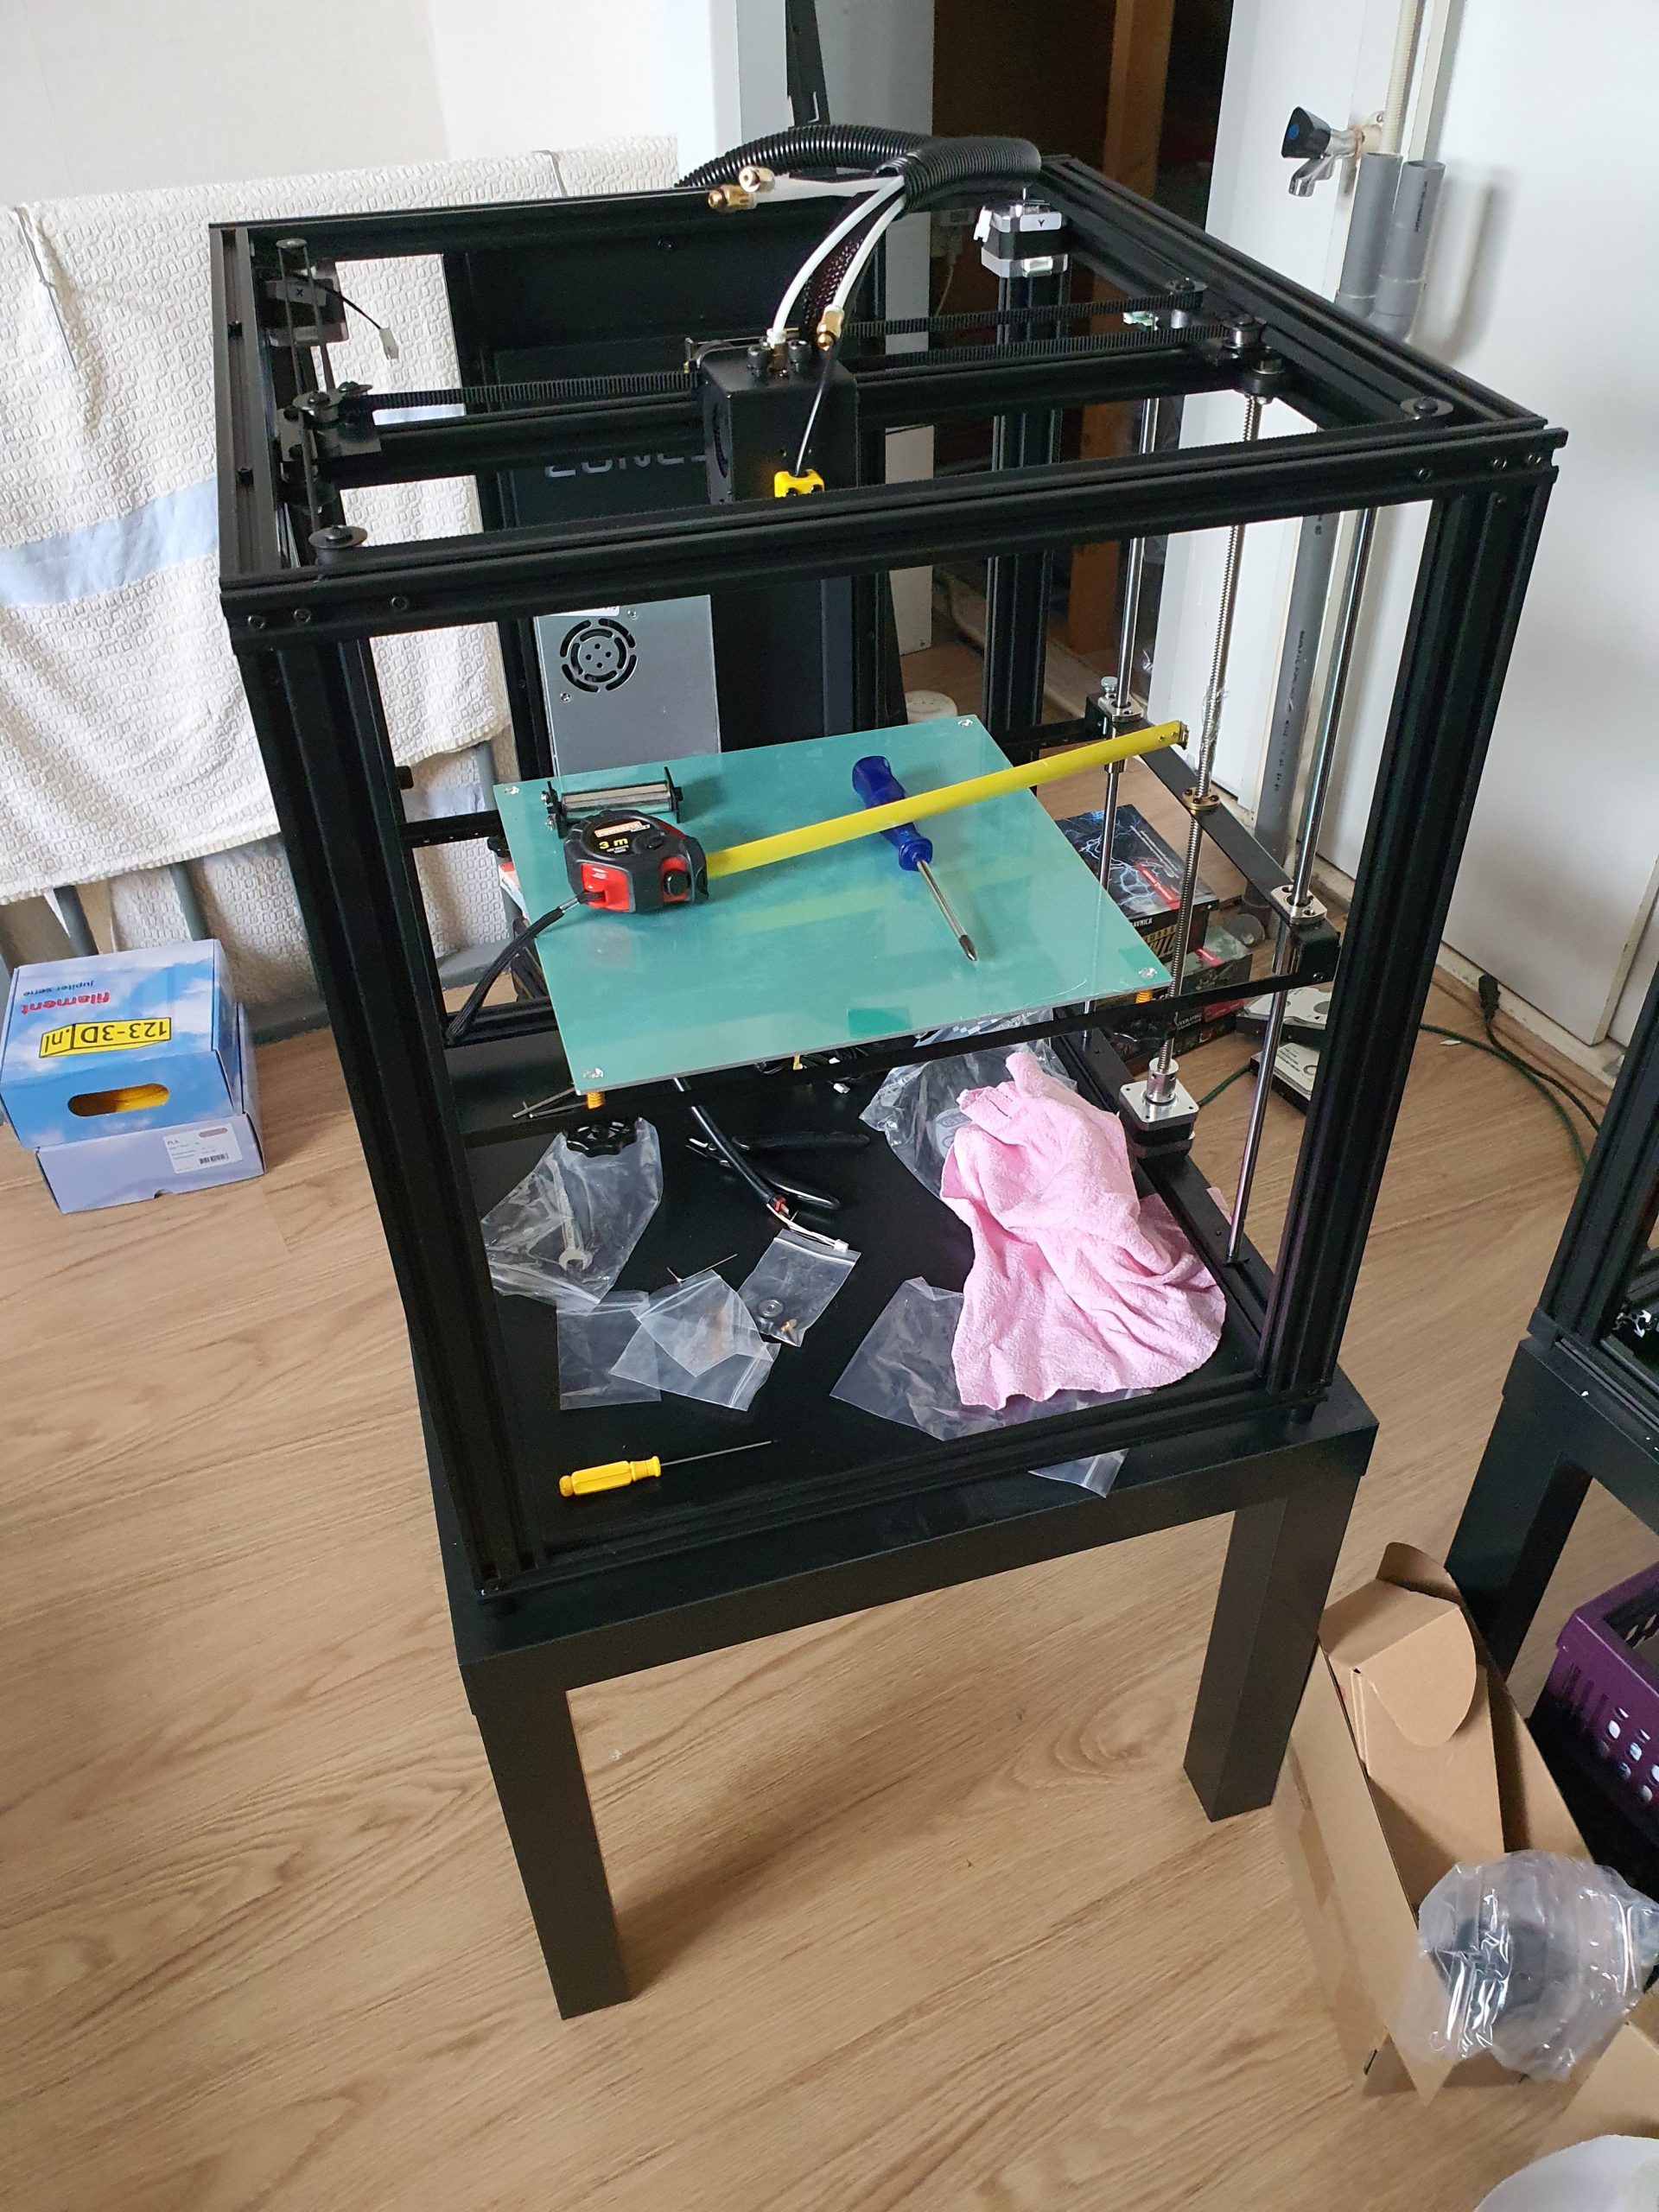
I’ve roughly followed Kris’ guide again, his guide is actually for the SKR v1.4 turbo, but the V2 has the exact same form factor. Beside that, I wanted to follow his philosophy of placing the board away from the edge and using extension cables. So, as the printer would be unusable as soon as I unhooked the mainboard, I wanted to do all the parts printing on the Ender 5 as well. It feels more like the printer upgrading itself and going into a new step of the printers taking over the world. I hope I compiled Marlin with OBEY_THREE_LAWS_OF_ROBOTICS = 1…
Hitting that point, there was no ready made firmware yet for the SKR 2 for the Ender 5 plus. Which was another fun challenge I wanted to do. (teaser: it works)
Lastly, the Ender 5 plus stock LCD screen does not work with the Big Tree Tech mainboards, so I had to replace it as well.
So I had a few parts to create:
- Housing for the new LCD (files here) and a bracket for that for the Ender 5 plus (files here)
- A bracket for the new mainboard (files here)
These prints are all pretty straight forward. The types of screws are in the projects descriptions.
I also got an SD Card extender (amazon link), the wrong usb cable extender (I thought I needed Type C -> Type C, but you need A -> C. Type C port on the mainboard is only for external hard drive) and a ferrule crimping toolkit (amazon link) that I didn’t have yet.
Obviously, I bought the BigTreeTech SKR 2.0, the BigTreeTech TFT35 v3.0 and I went for 4 Kingprint TMC2208 UART stepper motors.
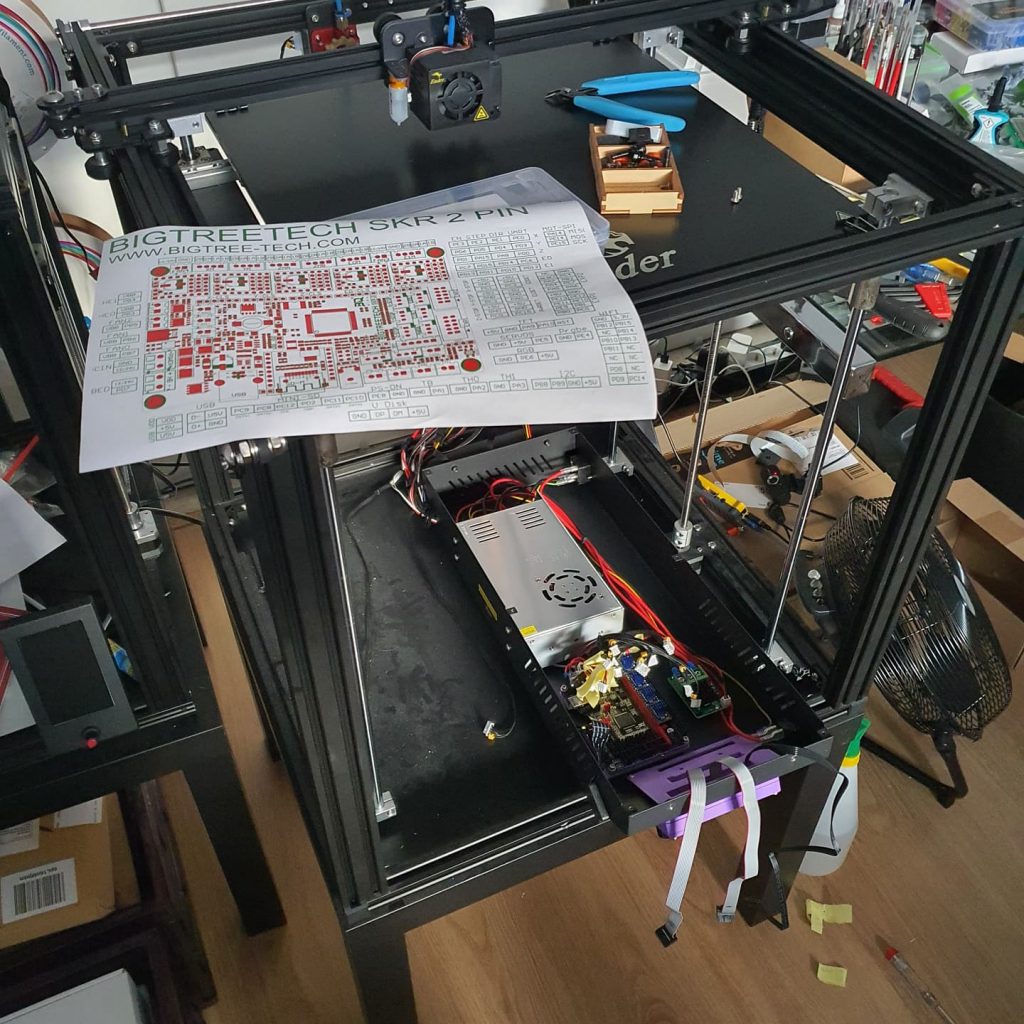
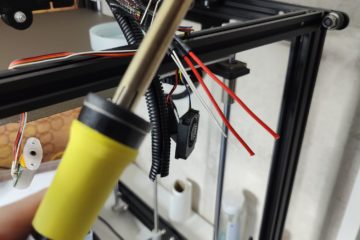
This was my view for quite some time in my room, as getting everything together took quite some time and focus. I’m not an electrical engineer, but I can read a wiring diagram. I have to say, the BTT wiring diagrams are very clear.
The only wire I had to physically change was the BLTouch. The order of wires needed to change.
After getting the wiring done, I needed to get the firmware setup. I started with BTT’s own SKR2 fork of the Marlin 2.0 firmware. I created my own fork of that, and started adding the Ender 5 plus features and dimensions in the configuration. I did need some iterations, but I now have a working firmware setup. I have all my code publicly available on GitHub. The firmware is included as a binary in the PreCompiled folder if you don’t want to compile it yourself.
I also had to compile the stock TFT35 firmware, but that was fairly easy. I don’t have that precompiled on the GitHub page, but if you need it, please reach out to me.
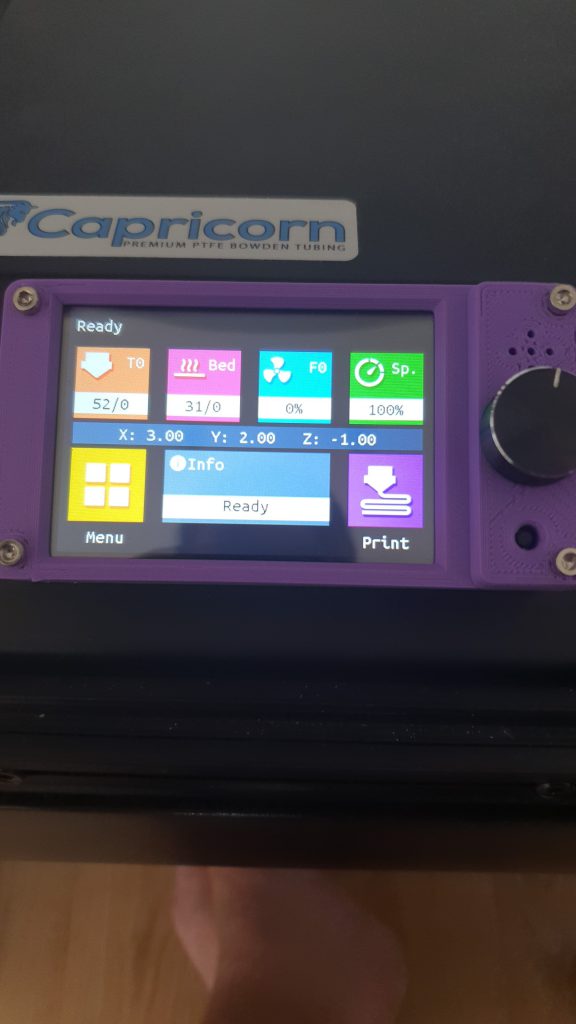
Results
The obvious first check to do, was running a 3D Benchy. At first, I got garbage, but then I looked at my nozzle.
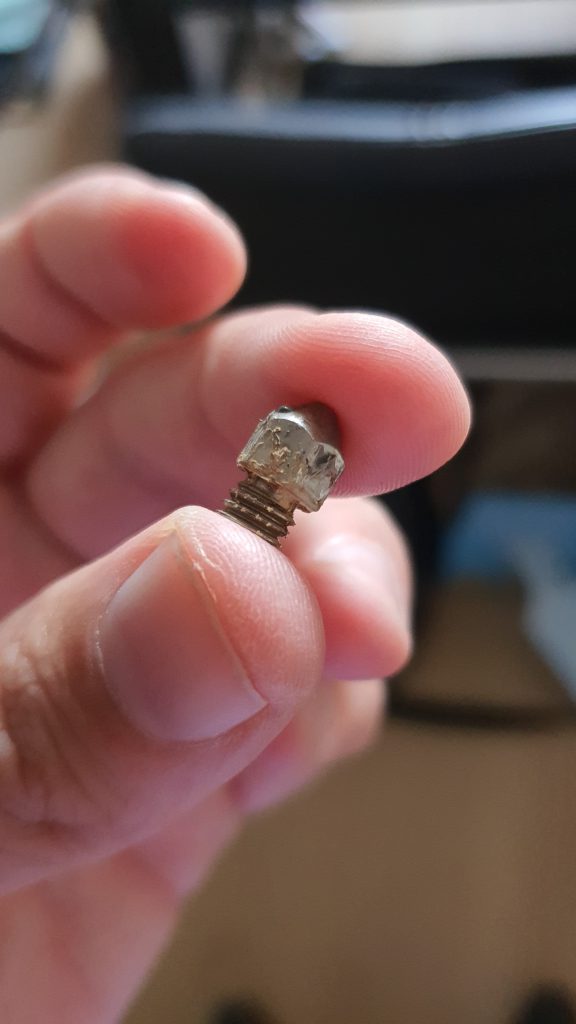
After I replaced it with one of my brass ones it worked a lot better. In fact, I have never gotten a benchy that had no stringing issues at all. And even the bottom is looking good.
So I think this upgrade has been a success so far. I’m having no regression and therefor I can go on trying out things with OctoPrint, etc.
Questions, did I miss some important detail? Let me know!

0 Comments